 To fix this, you need to use Track Mattes to limit the edges of the face.
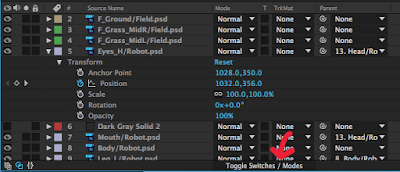
Step 1: Click on the "Toggle Switches/Modes" button. This will show the Mode and TrkMat options for all layers you have in your scene. This will be important later as that is how to get the Track Matte set up.

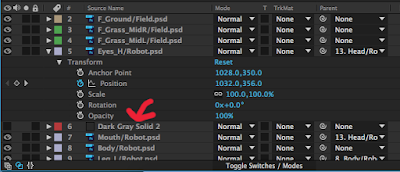
Step 2: Create a new Solid layer under the layer you want to move (the eyes in my animation).

Step 3: Double-Click on the Solid. This will pull up an editor, where you can move around the anchor and transform the layer in other ways. For this, you will need to use the shape tool to make a rectangle on the layer. The size of the rectangle will depend on what it is you want to put a Track Matte on.

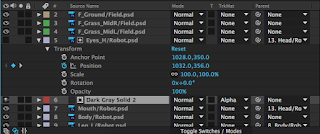
Step 4: Close out of the window for editing the layer. After that, in the TrkMat bar you opened earlier, select Alpha on the Solid layer. The layer it says after "Alpha" should be the one you want to mask.

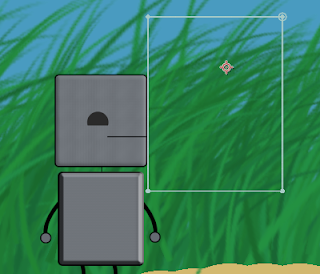
Step 5: From here, use the Transform sliders or just drag the Solid (shown by an empty box) to move the Track Matte box onto the area you want to mask.
If all of this goes right, you should have a working Track Matte, useful for lots of different situations to make a 2 dimentional story look more realistic and give it depth.

No comments:
Post a Comment